Applying for a Basement Permit Yourself vs. Letting Your Contractor Pull It: A Step-by-Step Guide
If you own a half-finished basement in Minneapolis, the permit question is probably the thing keeping the project stalled. Applying for a DIY basement permit yourself is legal in Minnesota as an owner-occupant, and plenty of homeowners do it. But it adds work, time, and liability that a contractor would otherwise carry. This guide walks through both paths step by step, so you can decide which one fits your project before anyone picks up a hammer.
Here is the short version. Pulling the permit yourself can save a few hundred dollars in markup and keeps you in direct contact with the city. Letting a contractor pull it moves the plan drawings, the inspection scheduling, and the correction work onto someone who does it every month. For a first-time finisher, or anyone inheriting someone else's unfinished framing, that second part matters more than the savings.
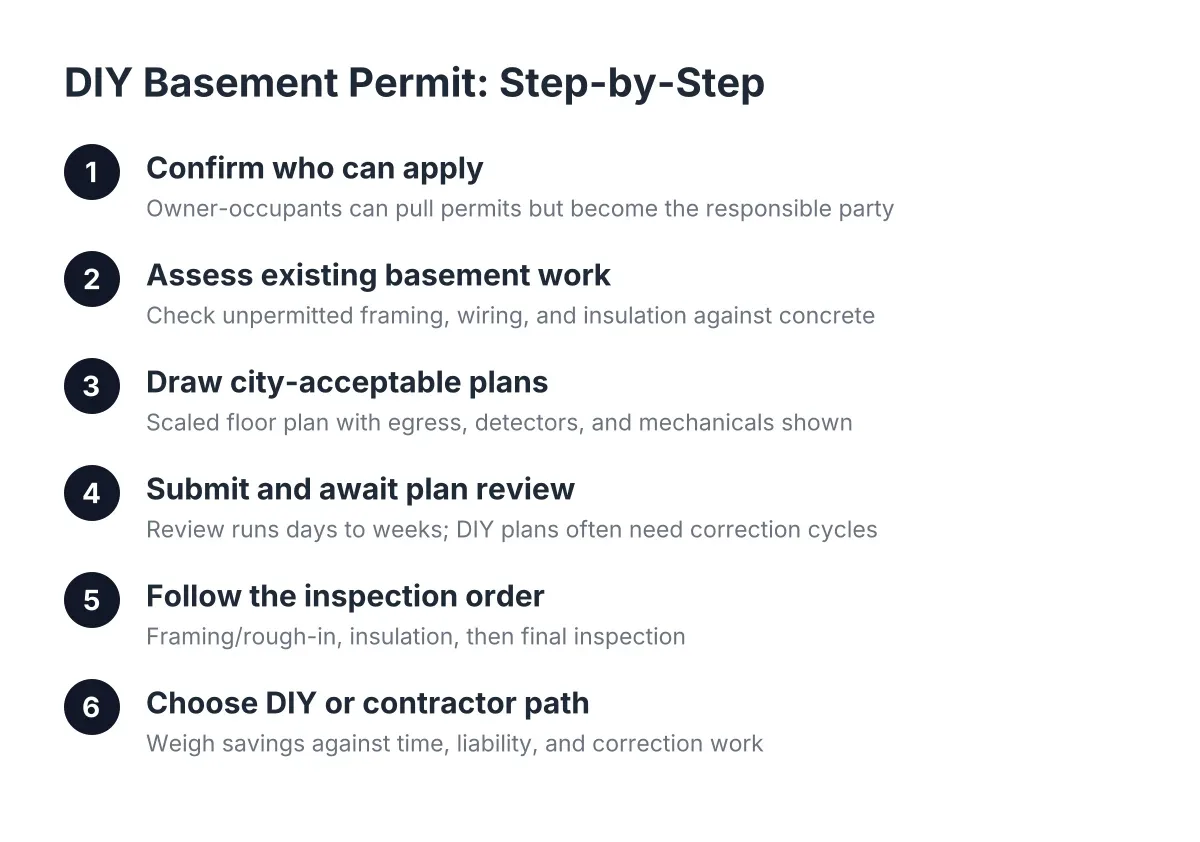
Step 1: Confirm Whether You Can Apply for a DIY Basement Permit Yourself
In Minneapolis, a homeowner can apply for a building permit on a house they own and live in. That is the easy part. The catch is that whoever pulls the permit becomes the responsible party. If an inspector flags work that needs correction, the permit holder is the one on the hook to fix it and call for re-inspection.
Electrical and plumbing are different. Minnesota allows homeowners to do some of this work in their own home, but the rules are stricter, and the inspections are less forgiving. Most contractors, even ones comfortable handing framing to a motivated homeowner, will tell you to hire a licensed electrician and a licensed HVAC contractor for a basement finish. Those trades carry their own permits, and a licensed trade pulls those under their own name.
So your first decision point looks like this:
- You pull the building permit yourself: you own the plan review, the inspection schedule, and any corrections.
- Your contractor pulls it: their license is attached to the work, and they manage the city for you.
- Either way, licensed electricians and plumbers pull their own trade permits for their portions.
Step 2: Take Stock of What Is Already in the Basement
This step matters most if you are rescuing a project someone else started. Say a previous owner framed half the basement, ran some wiring, and then the project sat for two years. Before anyone applies for anything, you need an honest read on what can stay and what has to come out.
Unpermitted existing work complicates a new permit application. The city will want the new permit to cover everything that was never inspected, which can mean opening up walls so an inspector can see wiring and framing. One assembly deserves special attention: framed walls with insulation stuffed directly against the concrete. In Minnesota's climate, that setup traps moisture, and it is often smarter to tear it out and start clean rather than build on top of it.
However, not everything has to go. Sound framing that meets spacing and anchoring requirements can often be kept. A walkthrough with a contractor who finishes basements locally, or a conversation with a city plans examiner, will tell you which side of that line your basement falls on. This is one spot where a professional opinion is worth getting even if you plan to do most of the work yourself.
Step 3: Draw the Plans the City Will Actually Accept
For the permit application, Minneapolis wants a floor plan showing the existing layout and the proposed one. You do not need an architect for a typical DIY basement permit application. You do need a scaled drawing that shows wall locations, room uses, window sizes and locations, smoke and carbon monoxide detector placement, and the mechanicals you are keeping or moving.
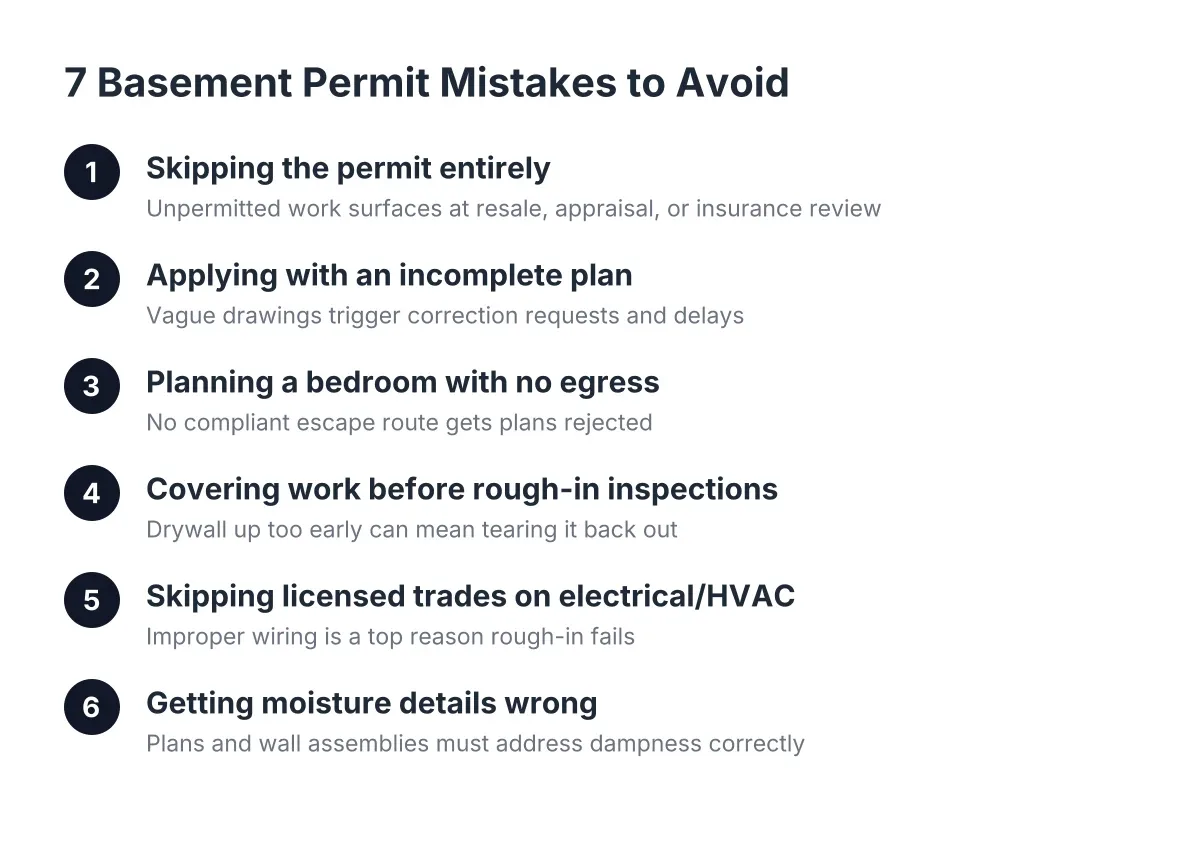
If you are applying for the basement permit yourself, budget a weekend for this. Graph paper or free floor-plan software both work. Measure twice; plan reviewers reject drawings that do not match the house. If a bedroom is in the plan, the drawing must show how that room meets egress requirements, which is one of the most common reasons basement plans bounce back for revision.
A contractor handling the permit produces these drawings as part of the job. That is one of the real time savings. A homeowner's first set of plans often goes through one or two revision rounds with the city; a contractor who submits basement plans regularly knows what the reviewer looks for the first time.
Step 4: Submit the Application and Wait Out Plan Review
Minneapolis accepts permit applications online. You will upload the plans, describe the scope of work, and pay the fee, which the city calculates from the project's stated value. As of 2026, plan review for a straightforward basement finish typically runs from several days to a few weeks, depending on the city's backlog and whether your plans come back with questions.
This is where the DIY basement permit timeline splits. A clean contractor submission often moves through review without a correction cycle. A first-time homeowner submission frequently gets a corrections letter: add the egress detail, show the furnace clearance, clarify the bathroom venting. Each round adds a week or more. Neither path is faster by rule; the difference is how many tries it takes to get to approved.
Step 5: Build in the Inspection Order, Not Around It
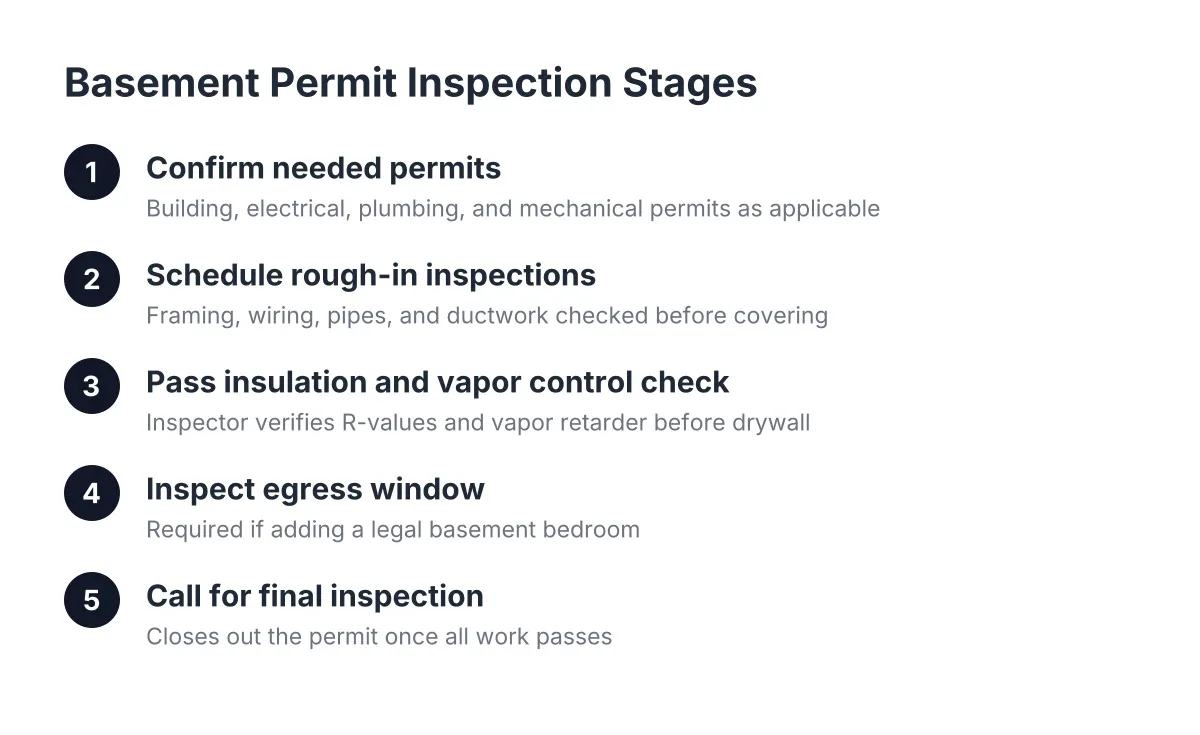
Once the permit is issued, the work has to pause at specific points for inspection. Basement finishing permits exist for exactly this reason: the city verifies the parts that get buried behind drywall. Expect this general sequence:
- Framing and rough-in inspection, after walls are framed and electrical, plumbing, and HVAC rough-ins are complete but still exposed.
- Insulation inspection, after insulation and vapor control are in place but before drywall goes up.
- Final inspection, after everything is finished, including trim, outlets, detectors, and fixtures.
Note that electrical rough-in gets its own inspection under the electrical permit, separate from the building inspection. Scheduling these in the right order, and not drywalling early, is the single biggest process mistake homeowners make. Cover an uninspected wall and the inspector can require you to open it back up.
If you pulled the permit yourself, you schedule each inspection, meet the inspector, and handle any correction list. That usually means taking time off work mid-day. A contractor folds inspections into the job schedule and handles corrections as part of the contract.
Step 6: Decide Which Path Fits Your Project and Budget
Here is a realistic way to weigh it. Suppose a Minneapolis homeowner is finishing 700 square feet with a future bathroom rough-in. Angi puts an average basement remodel between $30 and $75 per square foot, so this is a meaningful investment either way. Pulling the building permit yourself might save a modest coordination fee. In exchange, you take on the drawings, two or three inspection appointments, and responsibility for every correction, including any surprises hiding in inherited framing.
Applying for the DIY basement permit yourself makes the most sense when the scope is simple, the basement is a true blank slate, and you have the schedule flexibility to meet inspectors. The contractor path makes more sense when you are picking up someone else's stalled project, adding a basement bathroom, or finishing space you cannot afford to have fail inspection twice.
Either way, the permit is worth having. According to the National Association of Realtors, 64% of basement finishing costs are recovered at sale, and an unpermitted finish puts that value at risk the day you list the house. The permit paperwork is a few weeks of process. The finished, inspected, legal basement is yours for as long as you own the home.
If you need basement finishing, Minneapolis Basement Finishing Pros can help.
Prefer to talk it through? Call (651) 758-8806 — a quick call is usually the fastest way to get a straight answer for your situation.